 +1 (774)478-6704
 Order@premiumonebackdrops.com


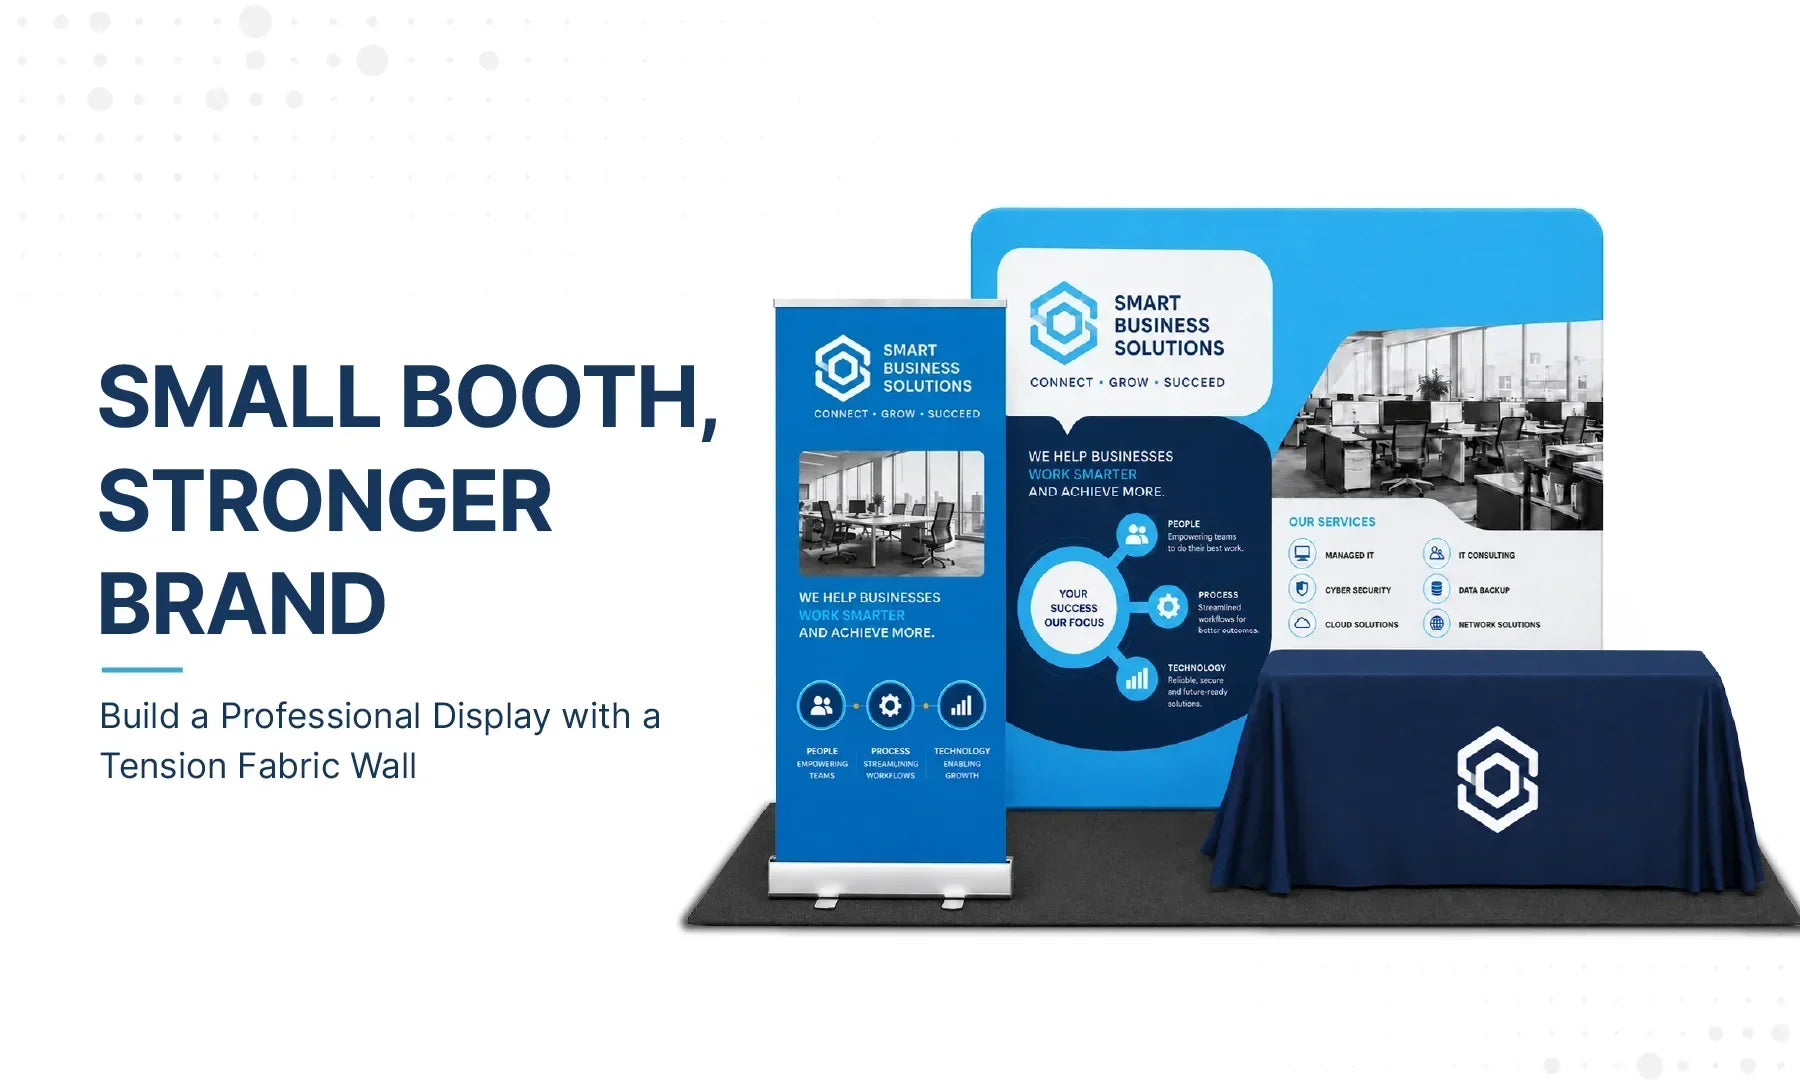
A small trade show booth does not need a large custom structure to look professional. For many small businesses, the better question is how to use limited booth space and budget in a focused way.
In a typical 10x10ft booth, the backwall does most of the visual work. It is often the first element visitors notice from the aisle, the largest branded surface in the space, and the background for customer conversations. That makes a tension fabric wall one of the most practical places to concentrate the display budget.
With one clear graphic, a suitable wall structure, and only the supporting items the booth actually needs, a simple setup can feel complete without relying on a complex custom build.
This guide explains how small businesses can use a Straight Tension Fabric Wall, Wall Box Fabric Display, or 3D display structure to create a more polished booth while keeping the layout simple and manageable.
Start with One Strong Booth Structure
When the budget is limited, it can be tempting to buy several inexpensive signs and place them around the booth. The result is often a group of small graphics competing for attention without creating one clear message.
A stronger approach is to begin with one main visual structure. In a 10x10ft booth, the backwall can carry:
- Your company logo
- One clear headline
- A short explanation of what your business offers
- One primary product image or brand visual
- A simple call to action when needed
A Straight Tension Fabric Wall provides a large, clean area for these elements. Instead of spreading the message across several unrelated signs, the logo, headline, imagery, and colors can work together as one design.
After the main wall is planned, add a counter, banner stand, or lighting only when it serves a clear purpose. Supporting items should help the wall, not compete with it.
Basic Booth Setup vs. a Tension Fabric Wall
A basic booth may include a folding table, solid-color tablecloth, and one small banner. This gives the team a place to stand and display information, but the booth may still feel visually incomplete from the aisle.
Adding a Tension Fabric Wall gives the same space one large branded surface. Visitors can identify the company more quickly, and the booth feels more intentional without filling every available area.
The improvement comes from creating one clear focal point, not from adding more products.

Choose the Right Fabric Wall for Your Budget
The right display depends on booth dimensions, viewing angles, the number of events planned, and how much depth you want the structure to add.
Level 1: Straight Tension Fabric Wall
A straight wall is the simplest way to create a professional background in a compact booth. Its flat front provides a large, readable graphic area without adding unnecessary depth.
It works well for first-time exhibitors, local business events, service companies, recruiting events, and product brands using one main campaign image. Keep the artwork simple so visitors can understand the business before reading smaller supporting information.
Level 2: Wall Box Fabric Display
A Wall Box Fabric Display adds visible side depth to the backwall. Its side surfaces can make the structure look more complete when visitors approach from an angle.
Keep the main logo and message on the front. Use side areas for brand colors, supporting patterns, or a short product category rather than important text that may be harder to read from the aisle.
Level 3: 3D Vertical Column Display
A 3D Vertical Column Display creates a stronger dimensional feature than a flat wall. It can add height, side visibility, or a visual anchor within a small booth.
Because the structure already has more physical presence, keep the rest of the booth simple. Before ordering, confirm the full dimensions and how the display will fit with the entrance, counter, staff area, and visitor space.

Prioritize the Budget Around the Main Wall
A budget-conscious booth should not divide spending equally across every possible component. Start with what visitors notice first and what can remain useful throughout the event.
- First priority: Main wall structure and custom graphic
- Second priority: Clear artwork and a practical booth layout
- Final priority: One or two supporting items that solve a specific need
Several accessories cannot fix an unclear headline, low-quality image, or logo hidden behind furniture. Complete the main wall first, then decide whether another item improves the visitor experience.
To control the budget, use long-term branding on the main graphic, place temporary offers on smaller replaceable signs, confirm artwork and dimensions before production, and plan early enough to reduce last-minute production or shipping pressure.
The goal is not to choose the cheapest item in every category. It is to spend on the parts that create the clearest booth and can support more than one event.
Design the Wall for a Small Booth
A small booth needs a simple visual hierarchy. Start with one primary headline that explains the company’s main value, product type, or service. Avoid giving several messages the same visual weight.
Keep the logo in an area that is unlikely to be blocked by a counter, staff member, product, or visitor. One large product or lifestyle image is usually more effective than several small photographs, especially when the graphic is viewed from the aisle.
It also helps to separate long-term and temporary information. Keep the logo, core service, brand colors, and general positioning on the main fabric graphic. Event dates, limited offers, changing QR codes, or short-term product messages can be placed on smaller supporting graphics when needed.
Plan a Clear 10x10ft Layout
One practical 10x10ft layout is to place the Tension Fabric Wall near the back boundary and position a compact counter slightly off-center. This keeps the entrance more open and reduces the chance that furniture will cover the center of the graphic.
Adjust the arrangement to match the booth’s open sides, venue rules, products, and visitor flow. A corner booth or demonstration area may need a different layout.
When using a Wall Box or another dimensional structure, account for the extra depth. Make sure the display does not push the counter too close to the aisle or leave too little room for conversations.
A banner stand can sit near one side when it carries a specific temporary message. A compact counter can create a welcome point or hold materials. Lighting may also help in darker halls when available, but it should be positioned so it does not create glare or heavy shadows.

Think Beyond the First Event
A small-business display budget should be considered across the expected number of events, not only the first show.
A reusable Tension Fabric Wall may support trade shows, conferences, recruiting programs, branded presentations, and other indoor events. When the message changes, compatible replacement graphics may allow the existing frame to stay in use.
Before ordering, consider whether the wall size, core branding, and overall design will remain useful. A graphic built entirely around one date or temporary offer may lose value after the first event.
Frequently Asked Questions
Is a Tension Fabric Wall suitable for a 10x10ft booth?
Yes, as long as the selected wall dimensions and full footprint fit the booth. The layout should still leave enough room for staff, visitors, products, and an open entrance.
What is the difference between a flat Tension Fabric Wall and a Wall Box?
A flat wall provides one main front-facing graphic surface. A Wall Box adds visible side depth, which can make the display look more complete from front and angled views.
Which display level should a small business choose?
Choose based on booth size, viewing angles, planned event use, and the amount of visual depth you want. A straight wall is the simplest option, while a Wall Box or dimensional display adds more side visibility and physical presence.
How much information should be placed on the fabric wall?
Use the logo, one main headline, one strong visual, and a limited amount of supporting text. The wall should introduce the business quickly rather than display every product detail.
Can the fabric graphic be updated later?
Replacement graphics may be available for compatible display systems. Confirm the original model, shape, and exact dimensions before ordering a new graphic, especially when the frame came from another supplier.
Build the Booth Around One Strong Visual
A professional small-business booth does not require the largest structure or the greatest number of accessories. It needs a clear visual priority.
A Straight Tension Fabric Wall provides a clean foundation, a Wall Box adds visible depth, and a dimensional display creates a stronger physical presence. Choose the level that fits the booth and budget, then keep the artwork focused and add only the supporting items the space actually needs.
Explore the Tension Fabric Wall Collection to compare fabric display options for small-business events and trade shows.
Need help selecting a wall for your booth size and budget? Contact our team with your booth dimensions, event date, preferred display style, and artwork requirements for a recommendation.