 +1 (774)478-6704
 Order@premiumonebackdrops.com


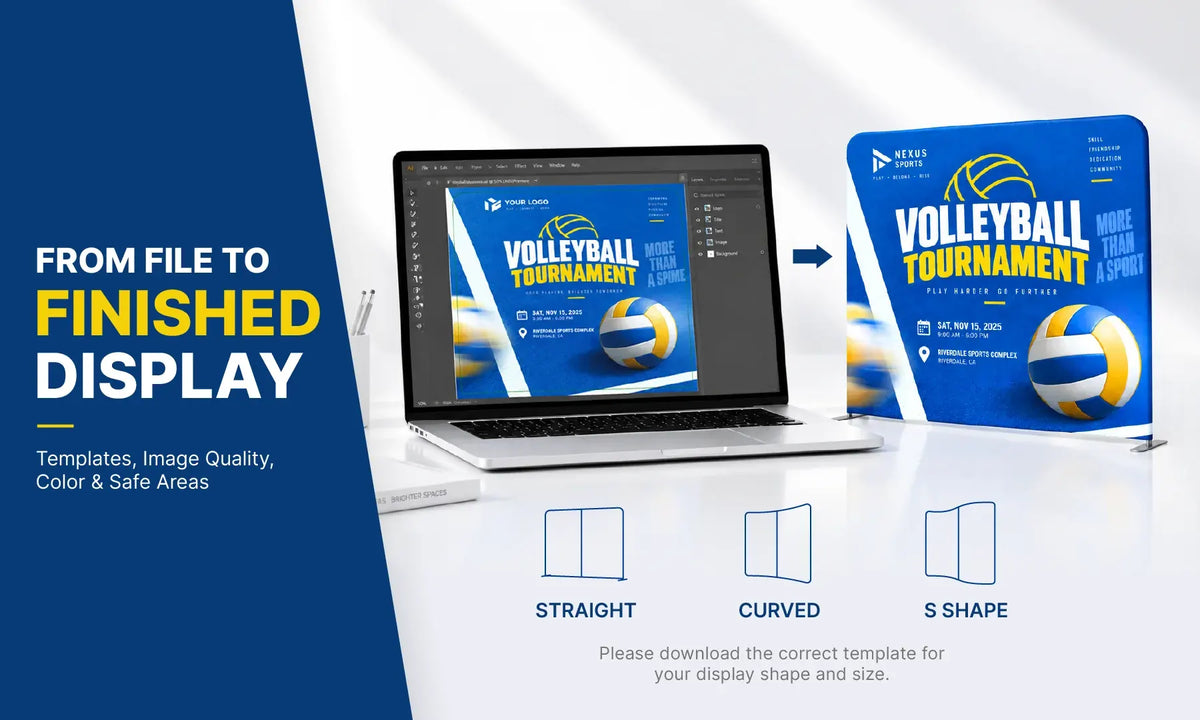
Good tension fabric display artwork starts with the correct product, size, and template. A design that looks great on screen can still print poorly if the logo is too small, the layout ignores seams, or the artwork was created for the wrong frame shape.
This guide covers the key steps for preparing artwork for straight, curved, and shaped tension fabric displays.
Choose the Right Tension Fabric Display Before Designing
Choose your display before creating the artwork. Different tension fabric displays have different sizes, frame shapes, seams, and visible areas. Artwork designed for a straight wall may not work correctly on a curved or S-shaped frame, even when the listed dimensions look similar.
Before designing, confirm:
- The exact display model and size
- Single-sided or double-sided printing
- The main viewing direction
- The frame shape
- The correct artwork template
You can compare options in our Tension Fabric Display Collection before preparing your file.
Always use the template for the exact product and size you are ordering. It shows the correct artwork dimensions and helps identify important areas such as seams, edges, and production zones.
Follow the Correct Tension Fabric Display Artwork Process
A simple workflow can prevent many common artwork problems:
- Select the display and size.
- Download or request the matching template.
- Prepare your logo, images, text, and brand colors.
- Create the design inside the template.
- Keep important content away from seams and edges.
- Label front and back artwork clearly if printing double-sided.
- Review the final proof before production.

If your backdrop will be used as part of a larger booth, consider the complete trade show display when planning the artwork.
Use High-Quality Logos and Images for Tension Fabric Printing
Choose a Clear Logo File
A logo that looks sharp on a website or email signature may become blurry when enlarged to several feet wide. Small screenshots, social media graphics, and copied website logos are often unsuitable for large-format printing.
Whenever possible, use the original logo file from your designer or brand team. Vector files are especially useful because they can be scaled without becoming pixelated. Adobe explains this difference in its raster vs. vector guide.
Simply saving a small JPG as a PDF does not improve the original image quality.
Check Images at Their Final Print Size
Photos and background graphics also need enough detail for the final display size. Check whether important details remain clear after scaling and whether the image has been heavily compressed.
Large-format printing does not always require the same resolution as a small printed brochure. The appropriate image quality depends on the finished size, viewing distance, and how the image is used.
Plan Tension Fabric Artwork Around the Finished Booth
A layout can look balanced on a computer screen but feel very different once printed as a full-size backdrop.
Check the size and position of your logo, headline, QR codes, website address, and other important information. Think about what will be placed in front of the display as well.
For example, a counter, monitor, product shelf, or table may cover the lower portion of a Straight Tension Fabric Backdrop Display. Keep the primary logo and message high enough to remain visible.
Visitors may also first see the backdrop from several feet away, so the main message should be easy to recognize before they approach the booth.
Prepare Colors and Fonts for Tension Fabric Artwork
Colors on a screen may not look exactly the same when printed on fabric. Monitors create color with light, while printed graphics use ink or dye, and the final appearance can also be affected by the fabric and surrounding lighting.
Adobe’s CMYK color guide provides additional information about process colors used in printing.
Use the requested color settings and provide brand color information when available.
Fonts should also be checked before submitting the file. If a font is unavailable, design software may replace it and change the layout. Convert text to outlines when required, embed or properly package linked graphics, and keep an editable version of the original artwork for future updates.
Keep Tension Fabric Display Artwork Away From Seams and Edges
Tension fabric graphics wrap around a frame and may include seams, zipper areas, rounded edges, or sections that turn away from the main viewing direction.
Keep important logos, headlines, QR codes, websites, and product information inside the safe area. Avoid placing critical content directly over seams, zipper areas, strong curves, or edges that wrap around the frame.
Background colors, patterns, and photos should continue through the extra production area shown on the template. This helps prevent unwanted blank areas near the finished edge after sewing.

Artwork Tips for Different Tension Fabric Display Shapes
The shape of the frame affects how visitors see the finished graphic, so straight, curved, and shaped displays require slightly different artwork layouts.
Straight Tension Fabric Display Artwork
A Straight Tension Fabric Backdrop Display provides a flat, front-facing surface. It works well for centered logos, headlines, product information, and layouts that need a clear visual hierarchy.
Keep important branding around eye level and avoid putting key information too close to the bottom if a counter or table will be placed in front.
Curved Tension Fabric Display Artwork
A Curved Tension Fabric Backdrop Display adds depth, but the side areas turn away from the viewer.
Keep the main logo and headline near the center. Use the curved sides for supporting photos, colors, patterns, or less important graphics. Avoid running long sentences across the full width because text near the sides may be harder to read from the front.
S Shape Tension Fabric Display Artwork
An S Shape Tension Fabric Backdrop Display creates multiple viewing angles.
Larger images, flowing graphics, and shorter messages generally work better than text-heavy layouts. Keep important branding in areas that remain visible from the main visitor approach.
Always use the correct template because the visual center of an S-shaped finished display may differ from the center of a flat artwork file.
Review Your Tension Fabric Display Proof Before Printing
The final proof is your last opportunity to identify artwork problems before production begins.
Before approving the proof, check:
- Product and finished size
- Front and back artwork
- Logo and image quality
- Spelling and contact information
- QR code readability
- Text near seams and edges
- Artwork orientation
For double-sided displays, make sure the front and back files are clearly identified. Do not approve the proof based only on the overall appearance—zoom in and check small text, logos, contact details, and other areas where mistakes are easy to miss.
Tension Fabric Display Artwork FAQs
Can I Use the Same Template for Straight and Curved Tension Fabric Displays?
No. Different frame shapes have different visible areas and production requirements. Always use the template for the exact product and size you are ordering.
Does Tension Fabric Artwork Always Need to Be 300 DPI?
Not always. The appropriate resolution depends on the final print size, viewing distance, and type of image. Follow the artwork requirements for your selected display.
Can I Use a JPG Logo for a Tension Fabric Backdrop?
Yes, if the JPG is large and clear enough for the intended print size. However, vector artwork is generally preferred because it can be enlarged without becoming pixelated.
Where Should I Place a Logo on a Curved Tension Fabric Display?
Place the main logo and essential information near the center, where they remain easy to see from the front. Use the curved side areas for supporting graphics.
Why Does Printed Fabric Look Different From My Screen?
Screen settings, fabric material, lighting, and the printing process can all affect how colors appear in the finished display.
Prepare Tension Fabric Display Artwork for the Final Setup
Good tension fabric display artwork should be created around the actual frame, size, viewing direction, and booth setup—not simply treated as a large rectangular image.
Before submitting your files, confirm the product, size, printing option, and template. Make sure important information remains inside the safe area and the layout still works when other booth elements are added.
Need help preparing your artwork? Contact the POB team with your product name, size, event date, and artwork files. We can help confirm the correct template before production.